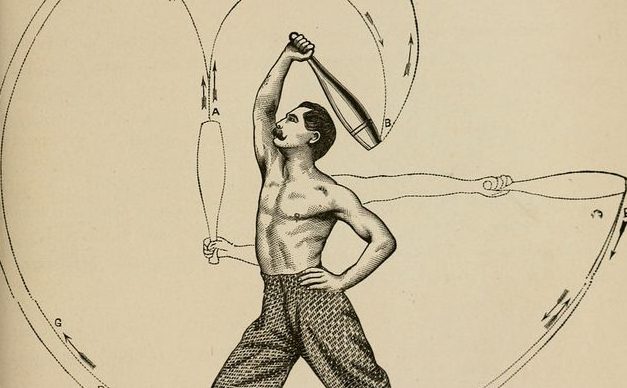
Years ago while exploring supplemental exercise routines for combat conditioning I discovered some advanced forms of Indian Clubs on the market. These devices are clubs weighted and used for strength training purposes. What I saw reminded me of the Chishi I used to workout with in my younger years of traditional Karate. The Chishi is a traditional Goju-Ryu training apparatus used for conditioning the forearms, shoulders, and grip. It consists of a wooden handle with a stone or concrete weight at one end making it look like an incomplete homemade dumbbell. “Traditional” can sometimes be synonymous with “crude” or “rudimentary” and, for me, the Chishi was no exception. I used to make my own Chishi and end result was functional yet rather unattractive and significantly dangerous because of the sharp concrete-molded block that was swung to and fro, often grazing my leg and foot.

Now I have discovered the least expensive means of making the most contemporary version of this type of strength conditioning apparatus. Allow me to share it with you.
I am going to describe this for people that live in my city so I will be giving the names of the specific stores I purchased these items from. I am sure others who are reading this can find the exact same materials are their local department & hardware stores.
The materials you will need will be a child’s plastic wiffleball “fat” bat. For those of you in Bellingham I purchased mine for $3.99 at Yeager’s. While I was there I found Athletic tape for $2.29. You’ll need a funnel. I found a 1-quart funnel from Car Quest for $1.97. Next, some adhesive caulk. I used “DAP Kwik Seal Tub & Tile Adhesive Caulk”. It bonds like a glue, seals like a caulk, and provides a durable, watertight seal. Finally, you’ll need sand. I found a 50 lb. bag called “Playsand” selling at Lowe’s for $3.24! My first Club used a quarter of the bag so naturally you and three other training partners can each make a club.
The steps are easy & the illustrations more than speak for themselves.
As you can see in the price breakdown below, my 1st club cost less than the shipping expense for the leading name brand Club on the market. With the $100 you save assembling your own club you can purchase such things as instructional videos that will teach you proper exercise techniques.
The rediscovery and growing popularity of Indian clubs may well be the decade’s most interesting development concerning modern restorative and martial arts in American culture.”
–Ed Thomas, Ed.D. Former Chairman of the Department of Kinesiology and Health Promotion, Troy State University – Fort Benning, GA Campus. Presently Health and Physical Education consultant for the Iowa Department of Education in Des Moines, Iowa.
DIY 10 lbs. Indian Clubs


1. Widen the small hole at the bottom of the bat.

2. Fit the funnel into the hole and pour the sand until the bat is completely full.

3. Once the seal has completely dried, drape several strips of atheletic tape over the end and down the length of the handle.

4. Wrap the handle from bottom to top, and back down to the bottom again. As you will see the weight of one club perfectly weighs 10 lbs.

Enjoy your new weighted, strength training clubs! Seek out qualified instructors or training guides to assist you with their proper usage and sports-specific exercises.

There are inherent risks when working with any form of free weights. Unbridled Martial Arts is not responsible for any injuries incurred through usage of Indian Clubs.
INFORMATION ABOUT INDIAN CLUBS & SIMILAR WEIGHT TRAINING EQUIPMENT:
BodyBuilding.com article (Interestingly, it says you cannot make your own Indian Clubs because they won’t be as “safe” as the popular brand name ones on the market.)
Russian Kettlebells
Indian Club Exercises & Info
More Indian Club Exercises
Indian Club Exercises on Video
Popular Brand Name Indian Clubs
Instructional Videos for Indian Club Training:
www.indianclubs.com
Coach Scott Sonnon
